A few weeks ago I made a jar of garlic fermented in raw honey — mostly out of curiosity, just to try something old-fashioned and natural… and it turned out much better than I expected.
I was a bit worried that it would become something strong, maybe even harsh, or with a funny taste. Mainly I was concern that I would waste perfect honey that had been collected by my lovely bees.
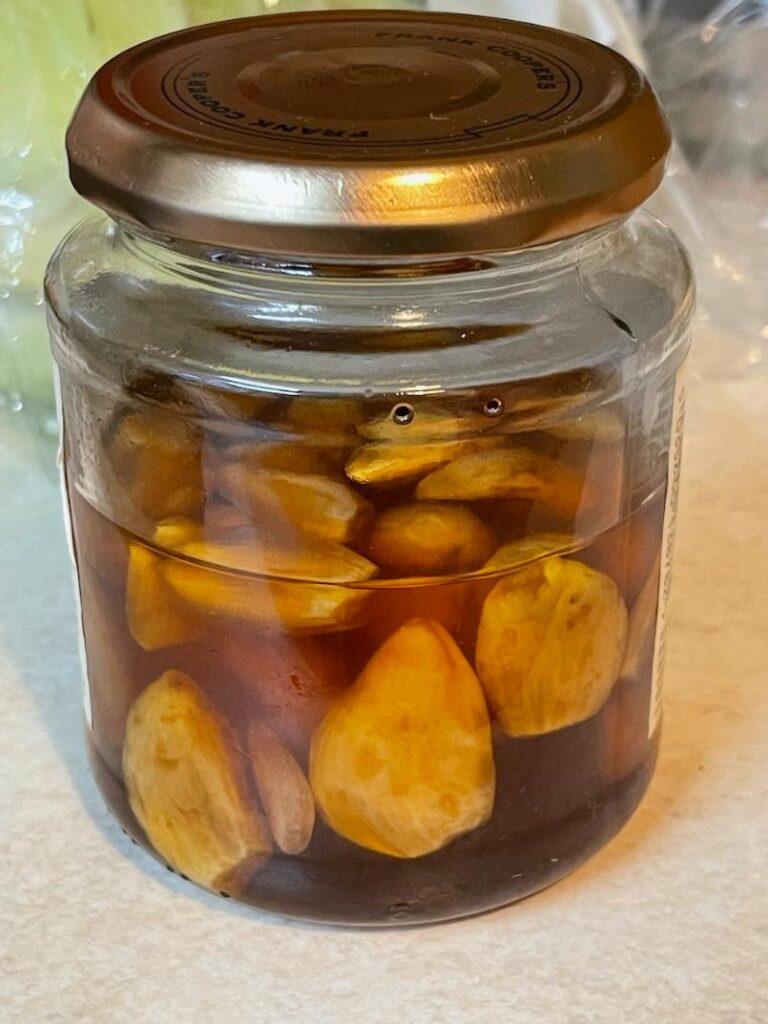
However, what I got was surprisingly delicious. The garlic became mellow and slightly sweet, and the honey turned into a pourable, garlicky elixir that I now drizzle on raw and roasted veggies, add to my homemade hummus and smoothies.
As you can see in this photo I have already eaten nearly half of the jar. 🙂
If you’ve been curious about this viral kitchen project, or if you want a natural immune-boosting remedy that’s actually tasty, this post covers everything: what garlic-in-honey ferment is, how to make it, safety tips, and creative ways to use it.
- What Is Garlic Fermented in Honey?
- Health Benefits of Garlic Fermented in Honey (and What Science Says)
- What Makes Garlic Honey Ferment Worth Trying
- My Easy Method of Making Garlic Honey Ferment
- Safety Tips You Should Know and Variations
- Honey Varieties & How They Change Your Ferment
- Frequently Asked Questions about Garlic Honey Ferment
What Is Garlic Fermented in Honey?
Fermenting garlic in honey means submerging fresh, peeled garlic cloves in raw honey and letting time work its magic. Over several days or weeks, the garlic releases liquid into the honey, which thins it out. The wild yeasts on the garlic (and in raw honey) kick off a slow fermentation. You’ll notice bubbles forming, garlic softening, and honey becoming more runny.
This is an ancient folk remedy, traditionally used to support the immune system during cold and flu season. Today, it’s having a major comeback among home fermenters and wellness enthusiasts.
Health Benefits of Garlic Fermented in Honey (and What Science Says)
People often make this ferment for its wellness potential. Here’s why:
- Garlic contains allicin, known for its antibacterial and antiviral properties.
- Raw honey is naturally antimicrobial, soothing for the throat, and rich in enzymes. (Find out more about antibacterial properties of honey here.)
- Together, they make a powerhouse for cold season support — though human studies are still limited.
💡 Good to know: While research supports garlic and honey individually for some health benefits, fermented garlic honey is mostly backed by traditional use, not large clinical trials.
What Makes Garlic Honey Ferment Worth Trying
- No equipment needed. All I use is a clean glass jar, a knife and a spoon.
- Full of natural flavour. The honey takes on a mellow garlic taste while the garlic turns sweet and less sharp as it ferments.
- Versatile in the kitchen. I drizzle it on veggies, legumes, mixed salads, add it to salad dressings, or enjoy a spoonful straight for a quick immune boost (or it could be a simple sore throat remedy).
- Stays fresh for months. As long as it’s stored properly (no refrigeration needed), a batch keeps its taste and quality for quite a while. There’s something truly comforting about how low-maintenance it is — just make the batch, give it a check from time to time, and let nature take its course.
My Easy Method of Making Garlic Honey Ferment
Here’s exactly how I made mine — and what I learned:
Ingredients:
- raw honey (local or organic works best for flavour and fermentation) – you need just enough to completely fill a jar of your choice with garlic cloves in it,
- 1 head of fresh garlic (about 10-12 cloves) – if your jar is tiny. I actually used 3 heads of garlic: I filled my jar to its neck, leaving just enough space for the cloves to be fully submerged in honey.
That’s it. No preservatives or additives, just nature’s basics. Using high-quality, raw honey and firm, fresh garlic makes the end result sweeter and more robust, so it’s worth spending a little time picking your ingredients.
How to Make Garlic Honey Ferment: Step by Step
1. Peel the Garlic
I begin by separating and peeling all the garlic cloves. I sliced off the dry rooty bit of each clove. You can also lightly crush the cloves under the flat side of a knife or slice a few to jumpstart fermentation and boost allicin.
2. Add Garlic to the Jar
Once peeled, I drop the cloves into a clean glass jar, leaving some room at the top for honey and air.
3. Pour in the Honey
I slowly pour raw honey over the garlic until the cloves are fully covered. Air bubbles may form as the honey settles, so I give the jar a gentle shake or stir to help the honey soak in around each clove. The honey will gradually grow thinner as fermentation moves along.
4. Let it Ferment
After sealing the jar, I keep it at room temperature in the kitchen cupboard, out of direct sunlight. During the first week only I open the lid every day to let gases escape and shake and tip the jar gently to mix the honey and garlic. Tiny bubbles should appear on the second day as fermentation starts, and the honey becomes runnier over time. This change shows that the natural process is moving right along.
By the end of the first week the foaming should stop. Then I let it stay undisturbed for another week.
5. Enjoy and Store
After two weeks, the flavour is already mellow and developed. I can taste the unique flavour of the final product, and it is well worth the effort.
You can start using it after the first week, or let it ferment for weeks for a deeper, richer flavour. When you have reached the flavour you like, store the jar in a cool cupboard (or if desired, the fridge – to slow down further fermentation).
Safety Tips You Should Know and Variations
This is where most readers have questions — and for good reason.
- Botulism risk is extremely low in honey ferments, but good hygiene matters. Always use clean jars and utensils.
- Keep garlic submerged to avoid mould growth.
- If you see fuzzy mould, strange colours, or a rotten smell, discard it.
- To avoid the honey bubbling over, remember loosening the lid gently each day to let built up gases escape and help stop messy overflows.
- I do not recommend standing the jar upside down on its lid, as there is a good chance of spillage. The contents are sticky with quite pungent garlicky smell. Just rotate it for a minute or so to get all the cloves covered in honey again.
- Once you like the flavour, you can refrigerate to slow further fermentation.
- Never give honey (fermented or not) to babies under 1 year.
- If you want a stronger garlic punch, slice the garlic instead of leaving it whole. For something milder, whole cloves do the trick.
- Try adding a sliced chili or fresh thyme for a twist on the base recipe. Smoked paprika or lemon zest are also tasty additions.
- This ferment gets looser and more syrupy over time. That’s totally normal and a sign that things are working right.
- 🧪 Extra tip: If you want added peace of mind, you can stir in a teaspoon of apple cider vinegar to slightly lower pH after fermentation.
Honey Varieties & How They Change Your Ferment
One detail I would like to add is how much the type of honey changes the result.
- Wildflower Honey – balanced flavour, floral, perfect everyday choice. Fermentation speed is moderate.
- Manuka Honey – famous for its strong antibacterial properties and earthy taste. It tends to ferment a little slower due to its higher antibacterial activity, but produces a bold, medicinal-tasting honey that’s excellent for cold remedies.
- Buckwheat Honey – dark, malty, almost molasses-like. It creates a deep, complex flavour.
- Acacia Honey – quite the opposite to dark honey, it is very mild and slow to crystallise. Great if you want a lighter-tasting ferment.
- Clover Honey – the classic, sweet and mild honey most people know. Yields a very approachable, almost dessert-like garlic honey.
🥄 Tip: Try making two small jars with different honeys and taste side by side after a few weeks. You’ll be amazed how different they are!
Frequently Asked Questions about Garlic Honey Ferment
Q: How do I know when it’s ready to use?
A: Once you spot little bubbles and the garlic looks a bit softer, usually after two weeks, it’s good to go. The longer it sits, the better the flavours blend together, so it’s up to your personal taste.
Q: How long does it take to ferment?
A: 7 days for a mild ferment, 3–4 weeks for deeper flavour.
Q: How should I store it, and how long does it last?
A: I keep my jar in a kitchen cupboard. If the garlic stays under the honey, it’s safe for several months. I just use a clean spoon each time to stop contamination. Some people have had their ferment last over a year if it remains sealed and unspoiled.
Q: Is it supposed to fizz or bubble?
A: Some bubbles are totally normal because of the natural fermentation. I sealed the lid and opened it every day for the first week. Some people don’t seal the jar completely tight at first, both methods help prevent overflow and let gases escape.
Q: Can I use store-bought honey?
A: Yes, but raw honey ferments more readily and keeps its natural enzymes.
Q: Do I need to refrigerate it?
A: Not at first. After you reach the flavour you like, refrigerating slows the ferment.
Q: Does fermentation kill garlic’s benefits?
A: Some allicin is transformed, but garlic still retains many beneficial compounds.
Q: Is it safe?
A: Yes, with clean jars, full honey coverage, and no visible mould.
Give Garlic Honey Ferment a Try
This is one of the easiest and most rewarding ferments I’ve ever done. It’s low effort, forgiving, and produces something both delicious and functional. If you’ve been on the fence, try making a small jar — just be prepared to make a bigger batch next time, because it goes fast!
There’s something really satisfying about making this at home and reaching for it when I want flavour or a gentle remedy. Whether you drizzle it over roasted carrots, stir it into a vinaigrette, or just take a spoonful when your throat feels scratchy, garlic honey ferment is worth keeping around. Let yourself experiment with little add ons to make it your own, and see how this staple adds next-level cool depth to your kitchen lineup.
I’d love to know what you think once you’ve given your own batch a try!