Beekeeping is a unique activity, and it requires specific equipment and tools. The right tools will help you to have smoother interactions with your bees. The essentials not only make your work easier but also ensure that inspections and other routine tasks are performed with minimal disruption to the hive.
The Beekeeper’s Toolbox: Must-Haves
Let us start with the basics — tools every beekeeper should have on hand.
The must-have tools include a standard hive tool or hive scraper tool, and a J hive tool, also known as the J-hook hive tool.
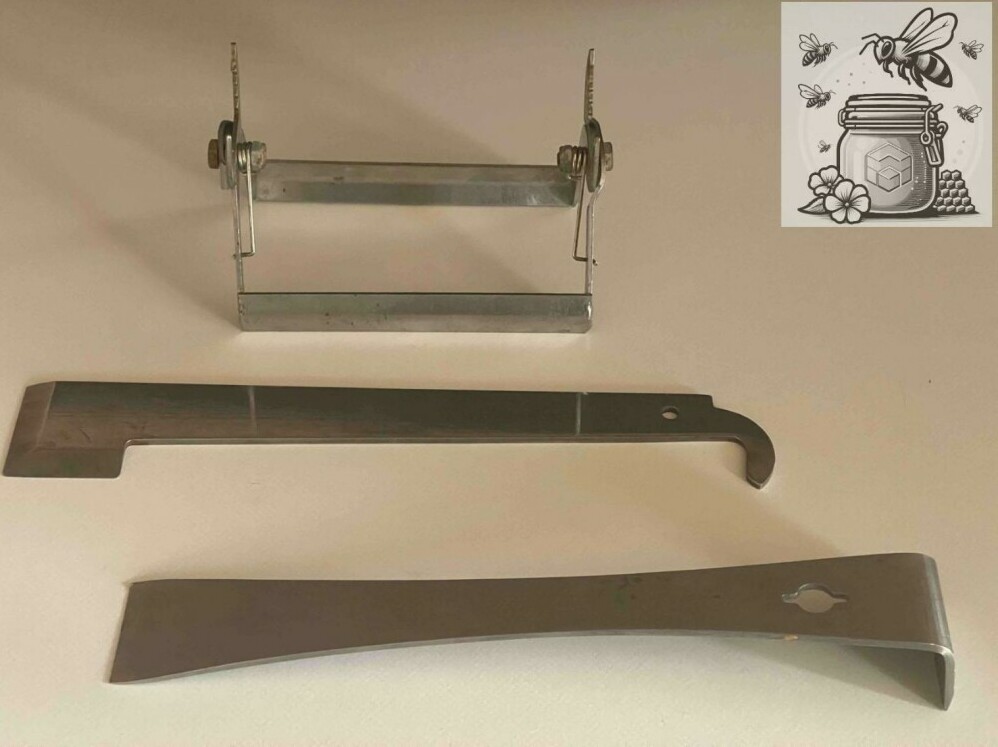
The standard hive tool is a tough piece of steel and is indispensable. You can open the hive, scrape away excess wax and propolis, and even remove nails with it. It’s the Swiss Army knife of your beekeeping arsenal.
The J-tool is also multi-purpose. It’s designed to pry apart hive components that have been sealed together with propolis, which bees use as a kind of glue. Plus, the J-hook end is perfect for lifting frames out.
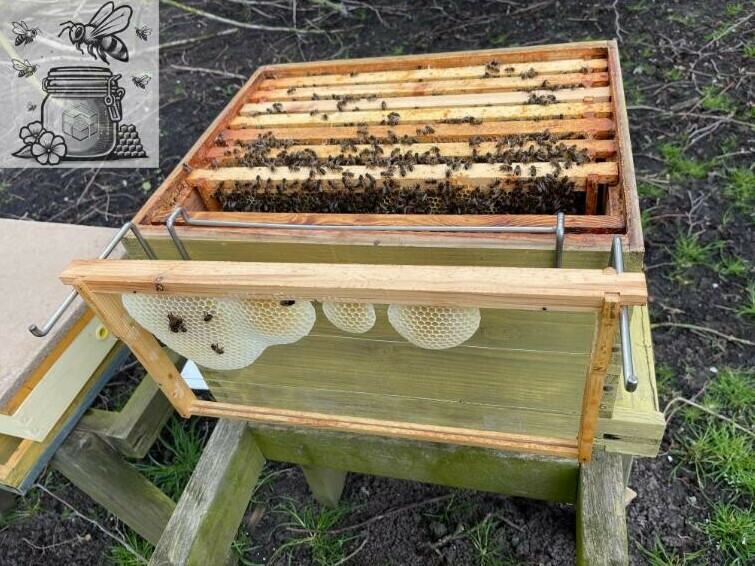
I also sometimes use a frame grip for lifting frames with minimum disturbance to the bees. It does require some extra care and strength to keep it squeezed tightly while you are holding a frame with it — if you release the grip, the frame will fall! As long as you control the tightness of the grip on the frame, this tool can be quite handy.
Another convenient tool that I use is a metal frame holder which helps me to keep things more organised.
When bees need a little more persuasion, that’s where your smoker or a simple spray water bottle comes in. A few puffs of smoke or a mist of water can calm the bees, making your work less intrusive.
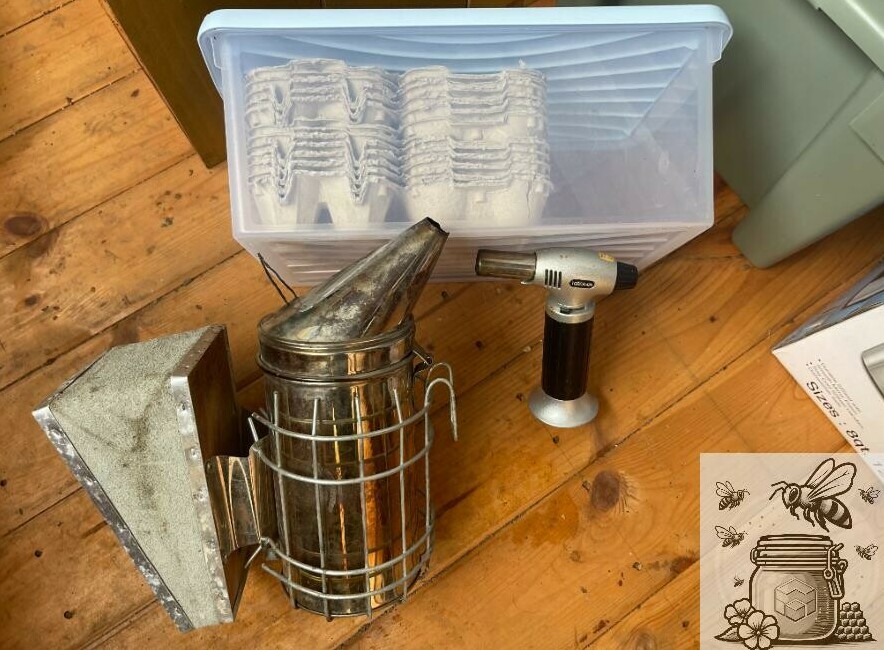
If you want to use a smoker, you’ll also need a blow torch and something to burn producing smoke. I find that egg boxes do the job quite well.
I mainly use a spray water bottle with a drop of lemongrass oil in it. Apparently bees like the smell of it, so it helps to make them less agitated during my inspections, but also it helps to mask the smell of bee venom which appears if a bee stings. It is quite strong (for bees, and even for me) and it serves as a kind of alarm signal for other bees to defend their hive against an aggressor, i. e. me, the beekeeper.
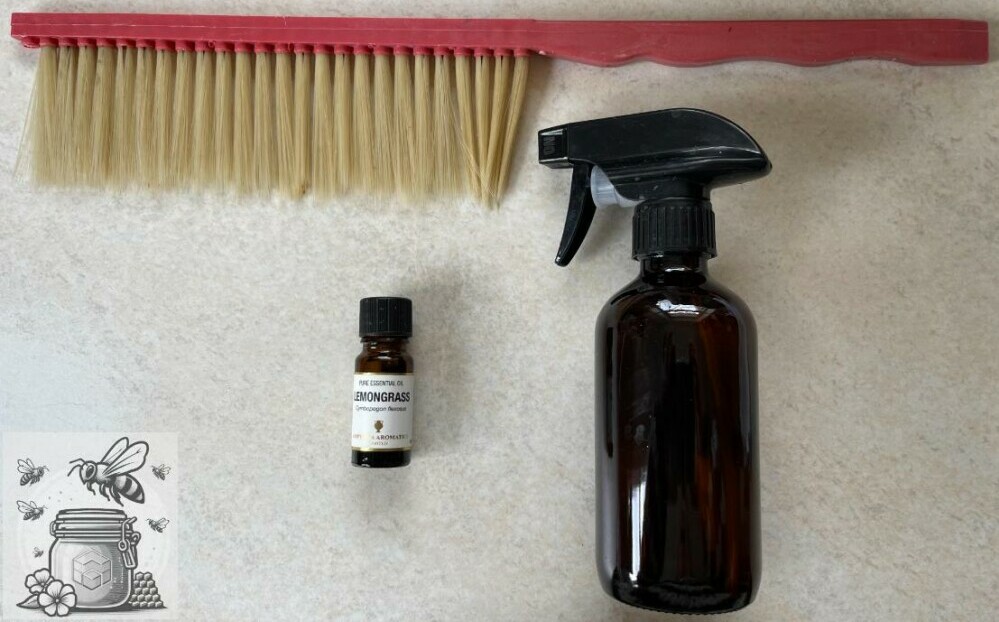
And a soft brush will also be handy when you need to clean the bees off. Though I have noticed that at least my bees are not that keen on being brushed 🙂 But before taking off my beekeeper’s suit, I make sure I brush off any odd bee that are still sitting on me, including the hood and my back.
Good hygiene is very important. Apparently, it is beekeepers who can cause problems in the apiary by spreading things from hive to hive. A good practice is to wash your tools between inspection of separate hives.
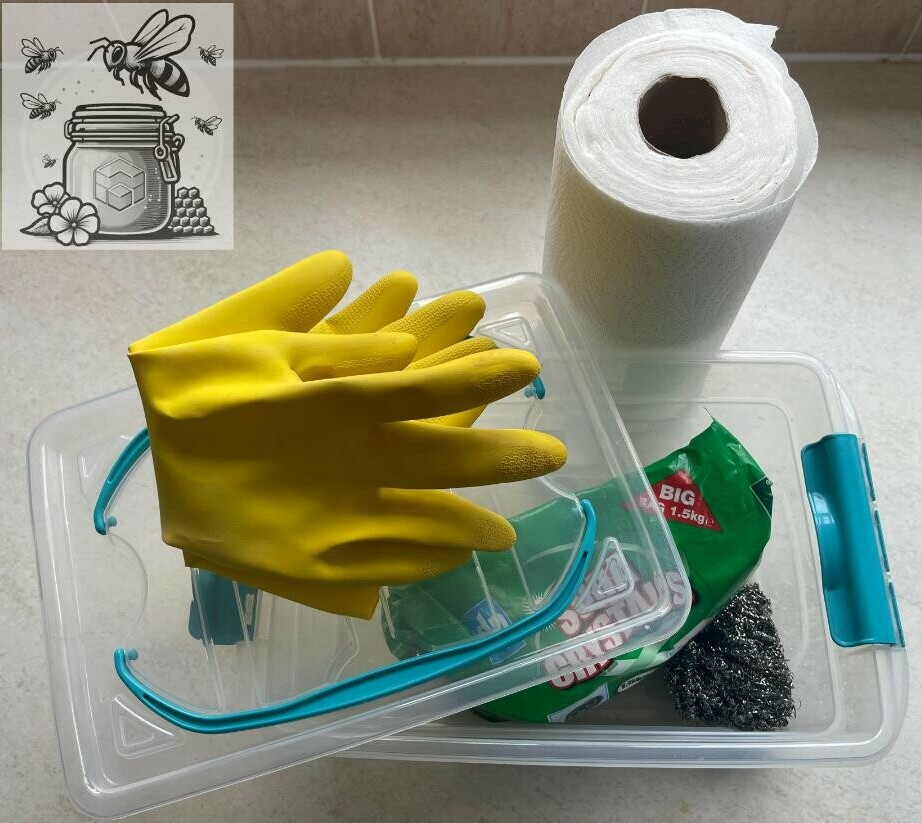 I have a container with soda crystals and a stainless steel scourer. I always take a big bottle of water with me so that I can wash my tools, hands, gloves and anything else. I also find it very convenient to have a roll of kitchen paper towel with me during inspections.
Also, If you do not want pieces of comb and propolis to lie around attracting bees, then an empty bucket (or a extra container) with a lid will be very useful.
It helps to be prepared, so particularly in the beginning a list of all the required tools should be made and checked before every visit to your apiary. It is quite frustrating to turn up there only to find out that you have forgotten to bring something important! (But we have probably all done that at least once. 🙂
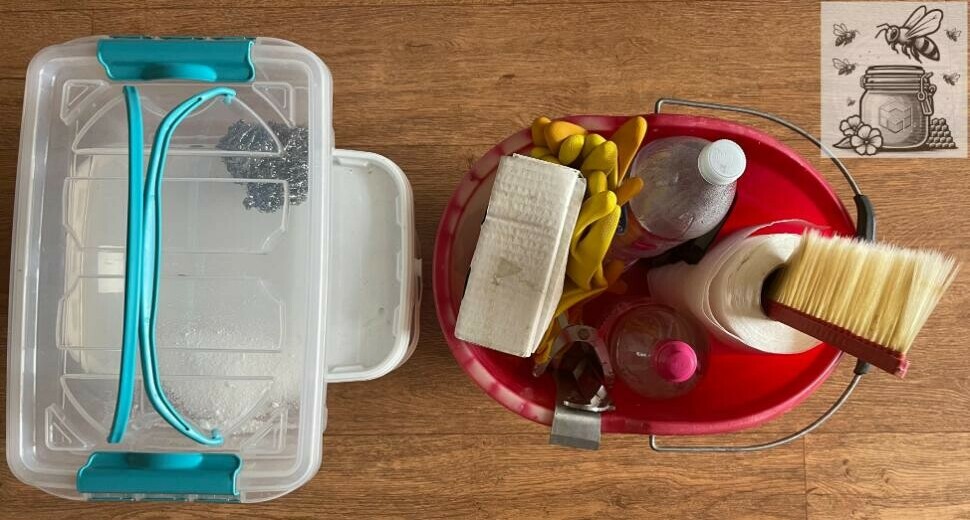
Here is my complete toolkit (2 containers and a bucket which I used it in my first year, and then decided that it was very convenient and just perfect for my needs).
And here’s my beehive inspection tools checklist:
1) a standard hive tool,
2) a J hive tool,
3) a frame grip,
4) a frame holder,
5) a smoker, egg boxes, a blow torch,
6) a spray water bottle (with water, lemongrass oil is optional :),
7) 2 pairs of rubber gloves (it is always handy to have a spare),
8) a brush,
9) a container (with soda crystals and a scourer) and a big bottle of water (for washing tools, etc),
10) a water bottle for bee water stations (which I replace during every visit, you can read about the importance of water for honey bees),
11) a container for storing comb and propolis pieces,
PLUS:
12) a little box with basic queen bee management tools.
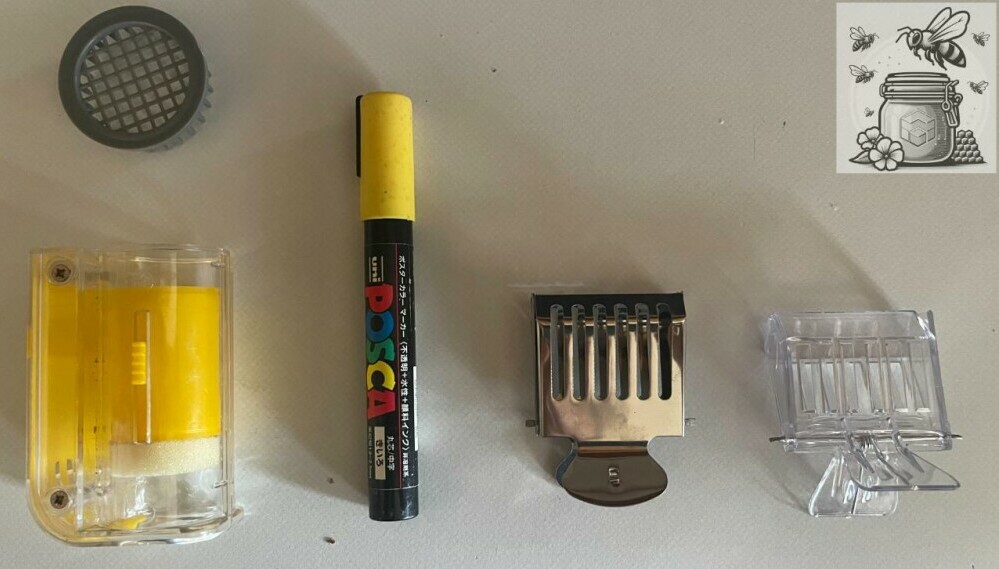
In the photo above from top to bottom and from left to right there are:
1) a plastic queen marking cage, also called “Crown of Thorns”. It features inward-facing spikes/thorns on the interior walls of the cage to immobilise the queen more effectively during marking.
2) one handed queen catcher,
3) queen bee marker pen,
4) queen catchers (metal and plastic).
The queen bee is the heart and soul of any hive, and managing her requires precision and care. That’s where specialised tools come in, designed to make queen handling simpler and safer both for you and for her majesty herself.
Queen catchers, like the one-handed version, are indispensable for safely isolating the queen during inspections or when you’re introducing a new queen to the colony. These tools gently confine the queen without causing harm, allowing for easy transportation or marking.
Marking the queen serves a valuable purpose. It makes it easier to spot her quickly during inspections and helps in monitoring her age and productivity. A non-toxic, brightly colored marking pen is the tool of choice for this task, and choosing the right color can help you keep track of the years.
Final Notes: The Beekeeper’s Continuous Learning
I believe that beekeeping is both an art and a science that calls for ongoing learning and adaptation. While the equipment list outlined is comprehensive, the actual craft comes down to your experience and understanding of the bees.
I really hope that you’ve found this guide to beekeeping essential tools helpful so that you could choose something that resonates with you. Your first attempt at trying and testing doesn’t need to be your last; there’s always room to refine your toolkit as you gain more experience.